Easy No-Bake Oreo Cheesecake Recipe: Perfect Dessert
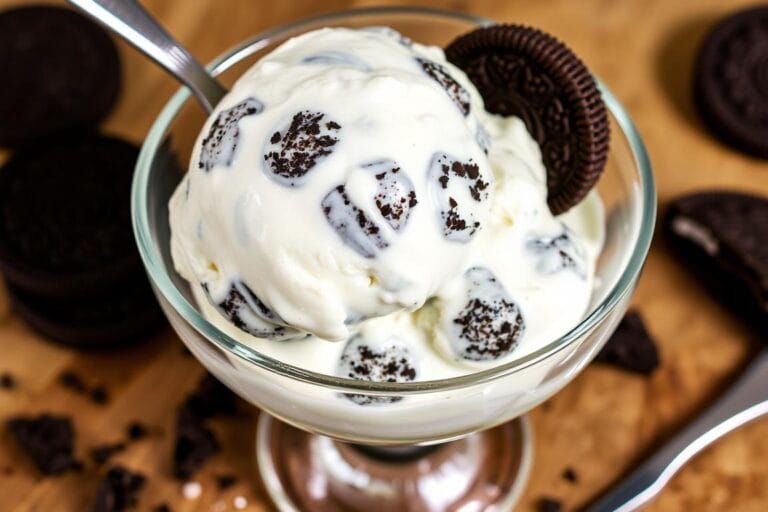
Beat the heat with a cool and creamy dessert perfect for summer. Our no-bake Oreo cheesecake recipe is easy to make. It’s sure to be a hit at any gathering.
This simple cheesecake recipe doesn’t need baking. It’s great for hot summer days when you don’t want to heat up the kitchen. The mix of cookies and cream in this dessert is a classic. The no-bake format makes it incredibly easy to prepare.
Key Ingredients:
- Oreo cookies
- Cream cheese
- Whipped cream
Key Takeaways
- Easy no-bake dessert recipe perfect for summer
- Creamy cheesecake loaded with cookies and cream
- No baking required, making it a simple dessert to prepare
- Great for hot summer days when a cool treat is needed
- Perfect for gatherings and parties
What is No-Bake Oreo Cheesecake?
If you enjoy creamy desserts, you’ll adore making a no-bake Oreo cheesecake. It blends the richness of cheesecake with the simplicity of a no-bake recipe. Plus, it features the delicious taste of Oreos.
Understanding the Basics of No-Bake Cheesecake
No-bake cheesecakes are perfect for hot weather or when you want something easy. They have a crust, often from crushed cookies or graham crackers. The filling is creamy, made from cream cheese, sugar, and whipped cream.
Since they don’t need baking, you won’t worry about cracking. This makes no-bake cheesecakes great for both beginners and seasoned bakers.
Why Choose Oreo for Your Cheesecake?
Oreos are a favorite for cheesecakes because of their unique taste and texture. “The combination of the crunchy cookie and the creamy filling is a match made in heaven,” many say. They add a rich chocolate flavor and a fun crunch.
For Oreo lovers, making a creamy cheesecake with them is a dream. You can use Oreos in both the crust and the filling. This ensures a consistent, delicious flavor.
Choosing Oreos for your Oreo cheesecake recipe means you’re going for a flavor that’s both familiar and exciting. It’s a simple way to make a classic dessert even better and wow your guests.
Essential Ingredients for Your Oreo Cheesecake
To make a delicious no-bake Oreo cheesecake, you’ll need a few simple ingredients. This dessert is easy to make because it requires only a few components.
Key Ingredients You Need
The foundation of your no-bake Oreo cheesecake includes a crust, cheesecake filling, and whipped topping.
- For the Crust: 15.35 ounces (435.17 g) of Double Stuff Oreo Cookies, crushed, and ½ cup (113.5 g) of unsalted butter, melted and slightly cooled.
- For the Cheesecake Filling: 16 ounces (453.59 g) of cream cheese, softened, 1 cup (200 g) of granulated sugar, 1 cup (240 ml) of heavy cream, and 1 teaspoon of vanilla extract.
- For the Whipped Topping: 1 cup (240 ml) of heavy cream and 2 tablespoons of granulated sugar.
| Ingredient | Quantity | Purpose |
|---|---|---|
| Double Stuff Oreo Cookies | 15.35 ounces (435.17 g) | Crust |
| Unsalted Butter | ½ cup (113.5 g) | Crust Binding |
| Cream Cheese | 16 ounces (453.59 g) | Cheesecake Filling |
| Granulated Sugar | 1 cup (200 g) | Sweetness |
Optional Add-Ins for Extra Flavor
While the basic ingredients are delicious, you can add extra flavor with optional add-ins. Consider adding:
- Chocolate Chips or chocolate shavings for an intense chocolate experience.
- Fresh Fruits like strawberries or raspberries for a fruity twist.
- Nuts such as chopped peanuts or almonds for added crunch.
“The key to a great cheesecake is not just in the ingredients, but in the love and care you put into making it.”
By adding these ingredients and optional add-ins, you’ll create a no-bake Oreo cheesecake that’s both delicious and visually appealing.

Step-by-Step Preparation Guide
To make a delicious no-bake Oreo cheesecake, follow this simple guide. It will show you how to prepare the cookie crust and the cheesecake filling.
Preparing the Cookie Crust
The crust is key to your no-bake Oreo cheesecake. You’ll need to blend Oreos with butter in a food processor until it’s sandy. This mixture will be the base of your cheesecake. Make sure the Oreos are finely crushed for the right texture. Press the mixture into a springform pan to make a solid base.

Making the Cheesecake Filling
Start by crushing Oreos finely. In another bowl, beat the cream until stiff peaks form. Then, beat the cream cheese and sugar until smooth. Use room temperature cream cheese for a creamy texture.
Combine the whipped cream with the cream cheese mixture. Gently fold in the crushed Oreos. This will ensure your cheesecake has a uniform flavor and texture.
By following these steps, you’ll make a delicious no-bake Oreo cheesecake. It’s easy to make and perfect for any occasion.
Mixing Techniques for a Creamy Texture
To get a creamy no-bake Oreo cheesecake, you need to master some mixing techniques. These steps are key to making your dessert smooth and tasty.
Importance of Room Temperature Cream Cheese
Using room temperature cream cheese is crucial for a smooth cheesecake. Cold cream cheese can make the filling lumpy. To fix this, let the cream cheese sit at room temperature for at least 30 minutes before mixing.
When mixing, beat the cream cheese with sugar and vanilla until it’s smooth. This step adds air and makes the cheesecake light.
Folding in Whipped Topping
After mixing the cream cheese, it’s time to add the whipped topping. You’ll use Cool Whip or similar whipped cream. Folding is a gentle way to mix these without losing air.
To fold, use a spatula to cut through the center of the mixture. Then, gently fold the ingredients together. Keep going until the whipped topping is fully mixed in, making the mixture smooth.

By using these mixing techniques, you can make your no-bake Oreo cheesecake creamy. Just remember to be gentle when folding in the whipped topping and make sure your cream cheese is at room temperature.
Tips for Perfectly Layered Cheesecake
## Tips for Perfectly Layered Cheesecake
To get a perfectly layered no-bake Oreo cheesecake, follow some key steps. Here are tips to make a dessert that looks great and tastes amazing.
### Ensuring Even Distribution of Oreos
To make sure Oreos are spread out right, follow these steps. First, make the cheesecake filling and crush the Oreos into fine crumbs. This helps mix them well with the cream cheese.
When you put the cheesecake together, layer it. Start with Oreos at the bottom, then cheesecake, and keep going until you’re done.
### Using a Springform Pan for Best Results
A springform pan is the best choice for a no-bake Oreo cheesecake. It makes it easy to get the cheesecake out and keeps the layers in place. Grease the pan lightly before adding the crust and filling.
Put the Oreo cheesecake mix on the crust, cover with more crushed cookies, and chill for at least 6 hours or overnight. This lets the flavors mix well and the cheesecake set right.
By using these tips, you’ll make a stunning no-bake Oreo cheesecake. It will impress everyone with its looks and taste. The even Oreo spread and springform pan use will make it easy to serve and look great.
Decorating Your No-Bake Oreo Cheesecake
## Decorating Your No-Bake Oreo Cheesecake
### Creative Toppings to Consider
To make your no-bake Oreo cheesecake look great, think about adding some creative toppings. You could use whipped cream, more crushed Oreos, or other toppings. Before you serve it, crush some extra Oreos and sprinkle them on top.
Adding more whipped topping and crushed Oreos can make it look even better.
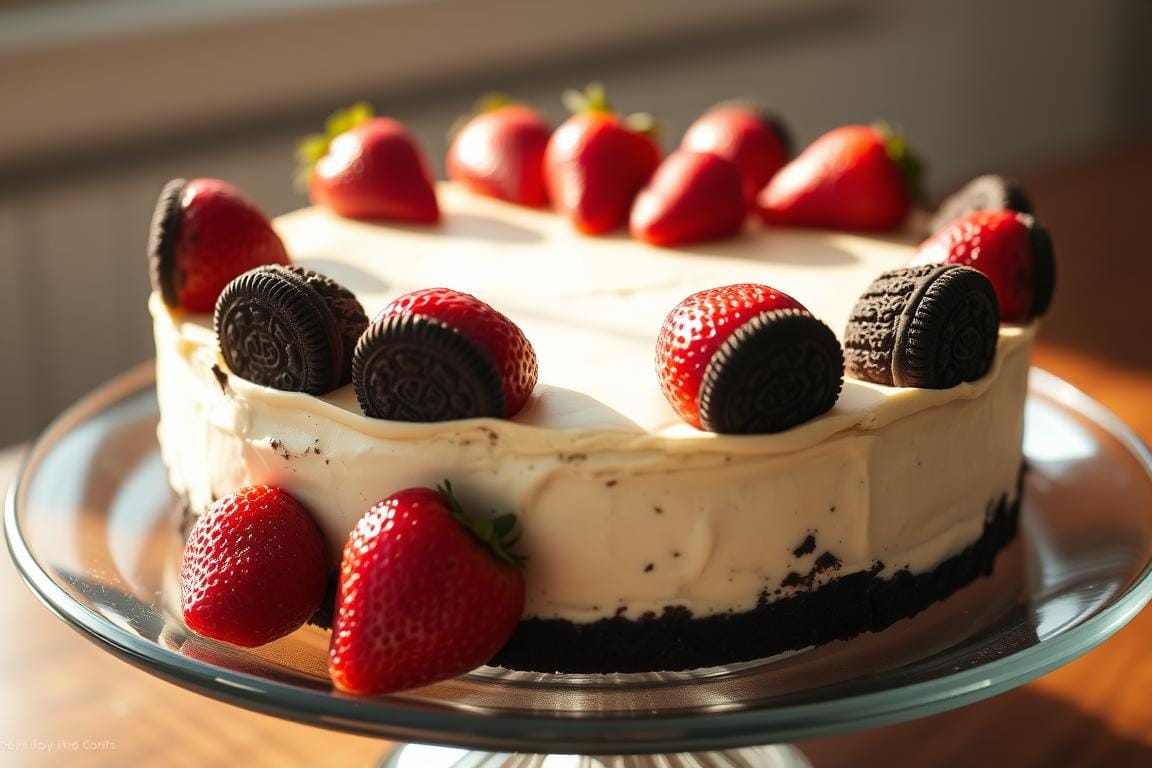
### How to Create an Eye-Catching Presentation
To make your cheesecake stand out, think about what you want it to look like. You could use fresh fruit, chocolate shavings, or other toppings for a personal touch. Using a springform pan helps with clean edges, making it look better and easier to serve.
Remember, less is more when decorating. Too many toppings can mess up the look. A simple yet elegant presentation is usually the best way to show off your cheesecake.
For a beautiful presentation, try these ideas:
* Fresh fruit: Sliced strawberries, blueberries, or raspberries add color and freshness.
* Chocolate shavings: Grated chocolate or chocolate shavings add a rich, decadent touch.
* Whipped cream: A dollop of whipped cream adds creaminess and elegance.
* Crushed Oreos: Sprinkling crushed Oreos on top adds fun texture and reinforces the Oreo flavor.
These ideas can help you create a stunning presentation for your no-bake Oreo cheesecake.

Setting and Chilling the Cheesecake
To get the perfect creamy texture, your no-bake Oreo cheesecake needs time to chill. This step is key. It lets the flavors mix well and the cheesecake set right.
Recommended Chilling Time for Best Results
For the best results, chill your no-bake cheesecake for at least 4 hours. Overnight chilling is even better. This makes sure the cheesecake is set and ready to serve.
If you’re short on time, chill it for at least 2 hours. But the texture might not be as firm.
To store: Cover the cheesecake and keep it in the fridge for up to 3 days. It’s a great make ahead dessert for parties or gatherings.
Tips for Avoiding Cracks During Setting
Keeping your no-bake cheesecake crack-free is easy. First, make sure it’s evenly layered. Uneven layers can cause stress and lead to cracks. Second, avoid sudden temperature changes. This can make the cheesecake contract or expand too fast.
- Use a springform pan to make removal easier and less likely to cause cracks.
- Don’t open the refrigerator door too frequently, as this can cause temperature fluctuations.
- Let the cheesecake sit at room temperature for a few minutes before serving to reduce the risk of cracking when cutting.

By following these tips and giving your cheesecake enough chilling time, you’ll get a smooth, creamy, and beautiful no-bake cheesecake. It’s sure to impress.
Common Mistakes to Avoid When Making Cheesecake
To make a perfect no-bake Oreo cheesecake, knowing common mistakes is key. Making a simple cheesecake recipe is easy. But, being aware of potential issues helps you create a delicious and beautiful dessert.
Overmixing the Filling
One big mistake is overmixing the cheesecake filling. This adds too much air, causing cracks or an uneven texture. To fix this, mix ingredients just until they’re combined. Also, use room temperature cream cheese for smoother mixing.
Tip: Stop mixing as soon as the ingredients are just combined to prevent overmixing.
Not Allowing Proper Chilling
Another mistake is not chilling the cheesecake enough. Chilling is crucial for the right texture and easy slicing. If you rush it, the cheesecake might be too soft or runny. Chill it for at least 4 hours, or better, overnight.
| Mistake | Consequence | Fix |
|---|---|---|
| Overmixing the Filling | Cracked or uneven cheesecake | Mix ingredients just until combined |
| Not Allowing Proper Chilling | Soft or runny cheesecake | Chill for at least 4 hours or overnight |

Serving Suggestions for Your Oreo Cheesecake
Your no-bake Oreo cheesecake is now ready. Let’s find some great ways to serve it. Serving your dessert in a thoughtful way can make your guests’ experience even better.
Ideal Pairings with Coffee or Tea
A no-bake Oreo dessert goes perfectly with a warm cup of coffee or tea. Coffee lovers will enjoy a medium roast coffee with it. It complements the cheesecake’s richness without being too strong.
Tea fans might like a light, floral tea like Earl Grey or a fruit infusion. It offers a refreshing contrast to the cheesecake’s dense, chocolatey taste.
Think about serving your cheesecake during a coffee or tea break at your next gathering. This easy dessert recipe will be a big hit. The right beverage pairing will make it even more enjoyable.
How to Cut and Serve the Cheesecake
Cutting and serving your no-bake Oreo cheesecake right can really improve its look. Use a sharp knife that’s been dipped in hot water and wiped dry before each cut. This method prevents the cheesecake from sticking to the knife, giving you smooth, even slices.
To make each slice look better, garnish it with extra Oreo cookies, whipped cream, or chocolate sauce. This extra touch will make your chocolate dessert a standout at any event.

Storing Leftovers and Shelf Life
Your no-bake Oreo cheesecake is great for events because it can be made ahead. It’s important to store it correctly to keep it creamy and tasty.
Best Practices for Refrigerating Cheesecake
Keep your cheesecake fresh by covering it and storing it in the fridge for up to 3 days. This keeps its texture and stops it from picking up smells from other foods.
Freezing Tips for Extended Storage
For longer storage, freeze your cheesecake. Put leftover slices in a freezer-safe container and freeze for up to 6 months. When you’re ready, thaw it in the fridge or at room temperature. This way, you can enjoy it later.
FAQ
What is the best way to store leftover no-bake Oreo cheesecake?
Can I make no-bake Oreo cheesecake ahead of time?
How do I prevent cracks in my no-bake Oreo cheesecake?
Can I use a different type of cookie for the crust instead of Oreos?
How do I achieve a creamy texture in my no-bake Oreo cheesecake?
What are some ideal pairings for no-bake Oreo cheesecake?
Can I freeze no-bake Oreo cheesecake?
How long should I chill my no-bake Oreo cheesecake?

Easy No-Bake Oreo Cheesecake Recipe: Perfect Dessert
- Total Time: 4 hours (including chilling time)
- Yield: 8–10 servings 1x
- Diet: Vegetarian
Description
This easy no-bake Oreo cheesecake is a creamy, indulgent dessert that’s perfect for hot summer days. It combines the rich flavor of Oreos with a smooth cheesecake filling, making it a simple yet delightful treat for any gathering or party.
Ingredients
For the Crust:
15.35 ounces (435.17 g) of Double Stuff Oreo Cookies (crushed)
1/2 cup (113.5 g) unsalted butter (melted)
For the Cheesecake Filling:
16 ounces (453.59 g) cream cheese (softened)
1 cup (200 g) granulated sugar
1 cup (240 ml) heavy cream
1 teaspoon vanilla extract
For the Whipped Topping:
1 cup (240 ml) heavy cream
2 tablespoons granulated sugar
Instructions
Prepare the Crust: Crush the Oreo cookies in a food processor until finely ground. Mix the crushed cookies with melted butter, then press the mixture into the base of a springform pan to form an even crust.
Make the Cheesecake Filling: In a large bowl, beat the softened cream cheese with sugar and vanilla extract until smooth. In another bowl, whip the heavy cream until stiff peaks form. Gently fold the whipped cream into the cream cheese mixture.
Assemble the Cheesecake: Pour the cheesecake filling over the prepared crust in the springform pan. Smooth the top with a spatula. Refrigerate for at least 4 hours or overnight for best results.
Serve and Enjoy: Once set, remove from the refrigerator and serve chilled. Optionally, top with additional crushed Oreos or whipped cream.
Notes
Use room temperature cream cheese for a smooth filling.
To make the cheesecake more decadent, top with chocolate chips, fresh fruit, or additional crushed Oreos.
Make sure the cheesecake is fully chilled before serving to allow it to set properly.
- Prep Time: 15 minutes
- Cook Time: N/A (no baking required)
- Category: Dessert
- Method: No-Bake
- Cuisine: American
Keywords: No-Bake Oreo Cheesecake, Easy Oreo Cheesecake, Summer Dessert, No-Bake Dessert, Oreo Cheesecake Recipe, Creamy Cheesecake, Make-Ahead Dessert, Oreo Cookies
What Are Our Readers Saying?
There are no reviews yet. Be the first one to write one.