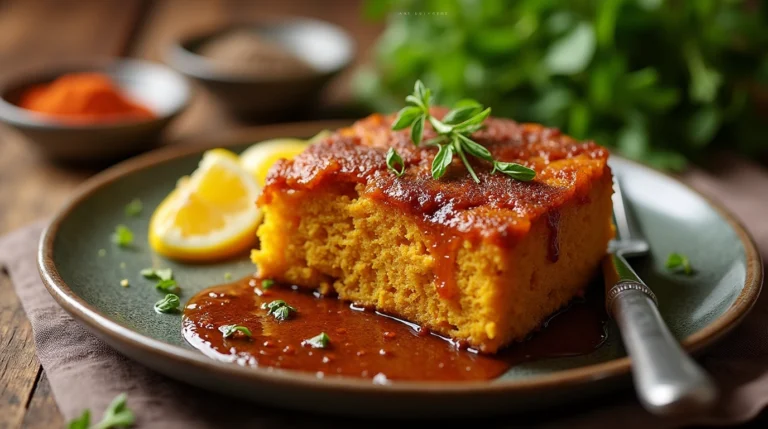
Bake Festive Mini Bundt Cakes Today
Festive Mini Bundt Cakes are the perfect way to bring back the warmth of family gatherings where dessert takes center stage. That first bite of something special – tender crumb, bright flavors, and a presentation that makes everyone reach for their phones. This season, let’s recreate that magic with handheld delights perfect for sharing.
Our guide focuses on simple techniques anyone can master. You’ll learn how basic pantry items transform into golden-brown treasures with a moist texture that stays fresh for days. A touch of lemon zest adds sunshine to every bite, while creative decorations turn each piece into edible art.
What makes these treats stand out? The iconic shape catches the eye, but it’s the balance of flavors that creates lasting impressions. We’ll show you how to achieve that professional bakery finish using tools you already own. From mixing bowls to finishing touches, every step builds confidence.
Table of Contents
Whether you’re hosting a brunch or surprising neighbors, these individual desserts offer flexibility. The recipe scales easily, and the decorating process becomes a fun activity for all ages. Let’s preheat those ovens and start creating sweet moments worth remembering.
Introduction to Festive Mini Bundt Cakes
Spring desserts should spark joy while honoring tradition. Imagine golden-brown treats with floral notes and pastel hues – edible symbols of renewal. These creations bridge nostalgia and innovation, using familiar ingredients in fresh ways.
The Charm of a Springtime Treat
What makes these desserts stand out? Their size matches seasonal gatherings – no slicing required. A basic mix becomes extraordinary with lemon zest or almond extract. Top with speckled icing resembling robin’s eggs, and you’ve transformed simplicity into celebration.
Bakers love how time-efficient they are. Most recipes take under an hour from bowl to table. Yet the intricate shape suggests hours of effort. It’s about working smarter, not harder,
says a pastry chef we interviewed.
Embracing Easter Traditions in Your Kitchen
While candy-filled baskets delight kids, adults appreciate desserts that echo holiday symbolism. Swirl pastel food coloring into glaze or nestle chocolate eggs in edible nests. These touches honor customs without requiring advanced skills.
Follow clear instructions for consistent results. Measure flour properly – spoon it into cups, don’t scoop. Adjust oven time based on your pan’s material. With each batch, you’ll refine techniques that make every spring gathering sweeter.
Essential Ingredients & Tools for a Perfect Bake
Quality ingredients and precise tools are the backbone of memorable desserts. Your kitchen becomes a laboratory where simple components transform into golden treasures. Let’s explore what makes these treats structurally sound and visually stunning.
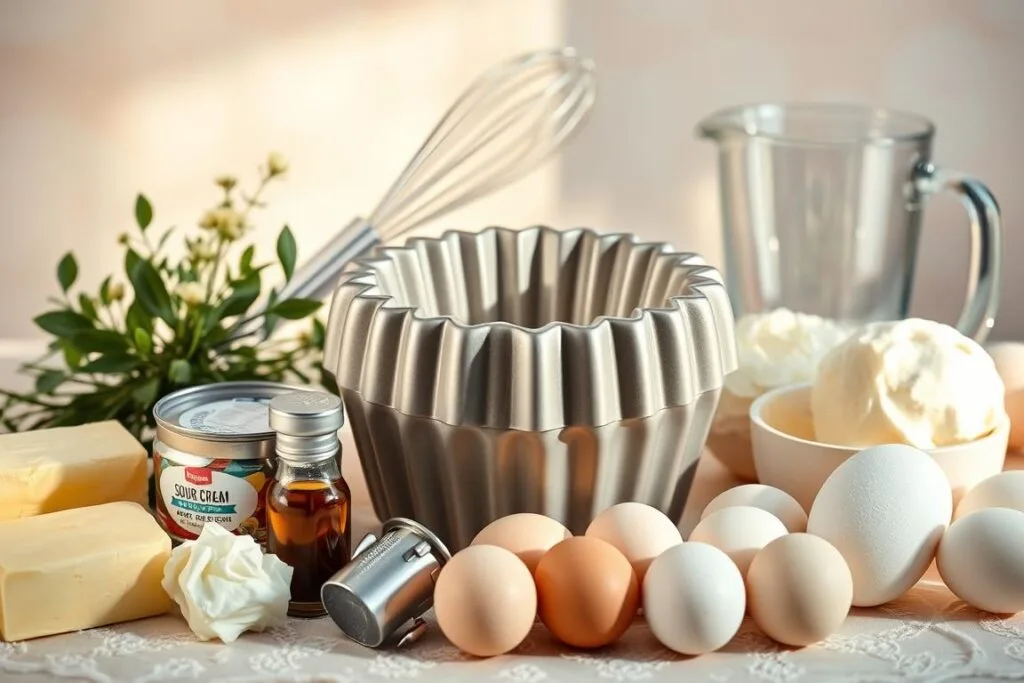
Key Ingredients and Their Roles
Every element in your batter has a purpose. All-purpose flour creates structure, while baking powder ensures a gentle rise. Eggs bind ingredients, and Greek yogurt adds moisture without heaviness. Lemon zest brightens flavors, cutting through sweetness.
| Ingredient | Role | Pro Tip |
|---|---|---|
| Vegetable Oil | Enhances tenderness | Use neutral oils for pure flavor |
| Granulated Sugar | Adds sweetness & caramelization | Combine with brown sugar for depth |
| Baking Powder | Provides lift | Check expiration date for potency |
| Greek Yogurt | Boosts moisture | Full-fat versions work best |
| Lemon Zest | Balances richness | Microplane for fine grating |
Must-Have Baking Supplies and Equipment
A nonstick cake pan with intricate designs ensures consistent shapes. Silicone brushes distribute grease evenly, while digital scales prevent measurement errors. Wire racks let treats cool completely, preventing soggy bottoms.
Tips for Accurate Measurements and Consistency
Spoon flour into measuring cups – don’t pack it. Level with a knife for exact amounts. Preheat ovens 20 minutes before baking. Test doneness with toothpicks; residual heat continues cooking as desserts rest.
Mini Easter Bundt Cakes Recipe: Step-by-Step Instructions
Transforming simple ingredients into crowd-pleasing treats requires precision and patience. Let’s break down the process into manageable stages that guarantee success, even for first-time bakers.
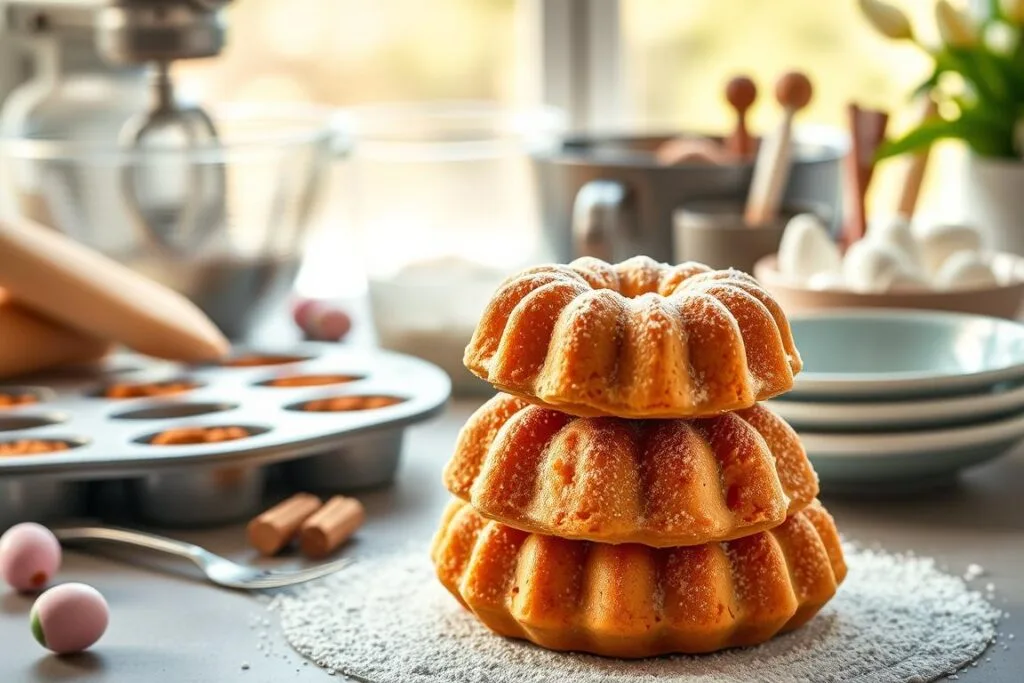
Mixing the Batter and Preparing Your Pan
Start by whisking flour, baking powder, and salt in one bowl. In another bowl, blend the sugar with eggs until pale yellow. Gently fold wet ingredients into dry mixtures – overworking creates dense textures. Spray your pan thoroughly with nonstick spray, reaching every crevice.
Baking Techniques for Light, Moist Cakes
Preheat your oven to 350°F. Fill cavities two-thirds full for even rising. Bake 18-20 minutes until edges pull from pan sides. Test with a toothpick – moist crumbs mean done, wet batter needs more time. Cool 10 minutes in pans before transferring to racks.
Finalizing with Icing and Decorative Speckles
Combine powdered sugar and heavy cream for glossy frosting. Tint with sky-blue food coloring. Dip cooled treats upside-down for full coverage. Create speckles by flicking chocolate paint with a fork. Add candy-coated eggs while icing sets – they’ll stick like edible jewels.
“The cooling phase is non-negotiable,” advises pastry chef Maria Torres. “Rushing this step leads to melted frosting pools.” Let decorations dry completely before serving for picture-perfect results that honor spring traditions.
Creative Decorating Ideas and Flavor Enhancements
The final flourish turns simple baked goods into edible masterpieces. Your choice of colors, textures, and accents transforms treats into seasonal showstoppers. Think beyond basic glazes – this is where personality meets the plate.
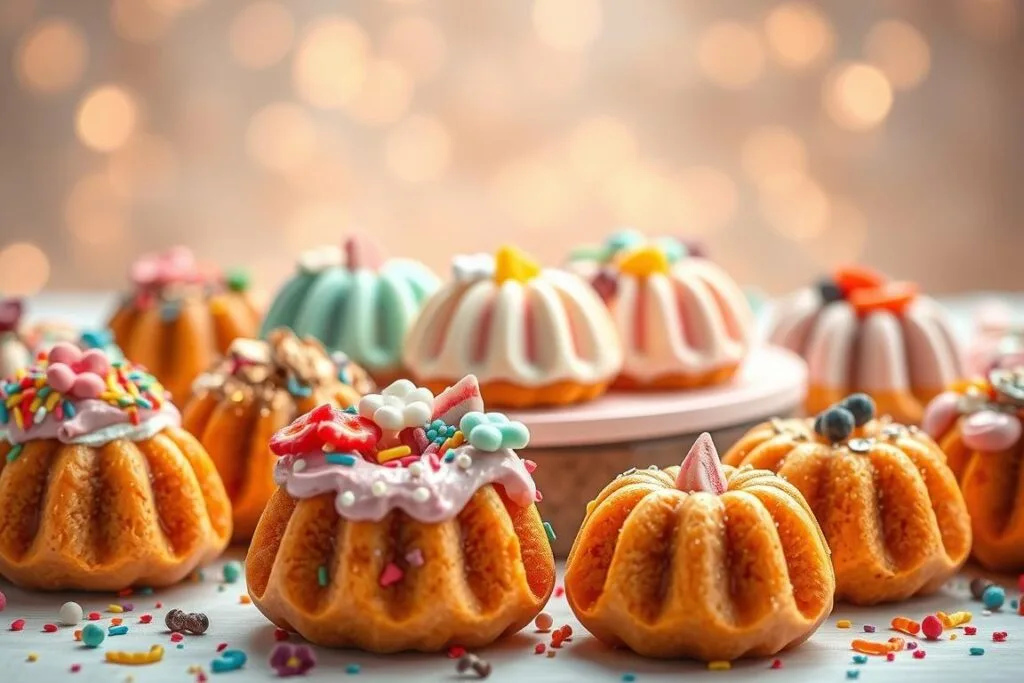
Personal Touches with Icing Colors and Designs
Swap plain white icing for hues inspired by spring blooms. Mix powdered sugar with beet juice for pink or matcha powder for earthy green. Use squeeze bottles to create precise stripes or marbled effects. For rustic charm, drizzle glaze unevenly to mimic tree bark patterns.
Experiment with textures by adding toasted coconut flakes or crushed freeze-dried berries. A pastry chef notes: Edible flowers pressed into wet icing create instant garden vibes.
Let kids help with sprinkles – their unpredictable placements often spark joy.
Incorporating Candy Eggs and Other Fun Accents
Nestle candy-coated chocolate eggs in icing “grass” made with piped green frosting. Position marshmallow bunnies peeking from hollow centers. For subtle elegance, brush edible gold dust on raised pan patterns.
Adjust your batter to complement decorations. Add lemon zest if using tart berry toppings, or vanilla bean paste for caramel drizzles. Remember: a light hand with oil keeps crumb structure intact while allowing flavors to shine through sweet adornments.
Balance is key. Too many toppings overwhelm delicate shapes. Stick to one focal point – maybe a single golden egg perched atop – surrounded by simpler details. Your dessert becomes a conversation starter without losing its homemade heart.
Conclusion
Turning simple ingredients into festive treats doesn’t have to be complicated. With a base of pantry staples and clear recipes, you’ll create tender desserts that wow guests. Remember: proper nonstick spray application ensures flawless release, while precise measurements guarantee consistent results every time.
Experiment with decorations using edible paints or natural food dyes – your creativity makes each batch unique. For the best texture, let treats cool completely before adding glossy glazes. Print this recipe for easy reference, and store leftovers in airtight containers with a damp cloth (spritzed with water) to maintain freshness for up to three days.
Keep these tips handy: Always use nonstick spray on intricate pans and test doneness with a toothpick. Share your creations online or gift them in decorative boxes – these portable sweets spread springtime cheer effortlessly. Now, grab your mixing bowls and make memories one delicious bite at a time.
FAQ
Can I use a different type of oil in the batter?
How do I prevent the batter from sticking to the pan?
What’s the ideal baking time for smaller cakes?
Can I add food coloring to the icing?
How long do these treats stay fresh?
Can I make these ahead of time for a gathering?

Bake Festive Mini Easter Bundt Cakes
- Total Time: 40 minutes
- Yield: 12 mini Bundt cakes 1x
- Diet: Vegetarian
Description
Festive Mini Easter Bundt Cakes are cheerful, bite-sized spring desserts that balance bright lemon flavor, tender texture, and charming decorations. Made with pantry staples and topped with pastel-colored icing and candy eggs, these treats are perfect for Easter brunches or springtime celebrations. Easy to bake and even easier to share!
Ingredients
2 cups all-purpose flour
2 tsp baking powder
¼ tsp salt
1 cup granulated sugar
2 large eggs
½ cup vegetable oil
¾ cup Greek yogurt (full-fat)
1 tsp vanilla extract
Zest of 1 lemon
½ cup whole milk
For the Icing & Decorations:
1½ cups powdered sugar
3–4 tbsp heavy cream or milk
A few drops of pastel food coloring (optional)
1 tbsp cocoa powder + ½ tsp water (for speckles)
Candy-coated chocolate eggs
Optional: edible flowers, sprinkles, toasted coconut
Instructions
Preheat oven to 350°F (175°C). Grease mini Bundt pans thoroughly with nonstick spray.
In a medium bowl, whisk flour, baking powder, and salt.
In a separate bowl, beat sugar and eggs until pale and fluffy.
Mix in oil, yogurt, vanilla, lemon zest, and milk until smooth.
Gradually add dry ingredients to wet mixture. Stir gently until just combined.
Fill each cavity of the prepared Bundt pan about ⅔ full.
Bake for 18–20 minutes, or until a toothpick comes out with moist crumbs.
Let cakes cool in the pan for 10 minutes, then transfer to a wire rack.
Prepare icing by whisking powdered sugar with cream until smooth. Tint with food coloring if desired.
Dip cooled cakes into the icing or drizzle it on top.
Flick speckles over icing using cocoa paint and a fork. Add candy eggs or other decorations.
Allow icing to set before serving or storing.
Notes
Spoon and level your flour for accurate measuring.
Full-fat yogurt helps retain moisture.
Cakes can be made a day ahead and decorated later.
Store in an airtight container at room temp for 3 days or refrigerate for up to 1 week.
Freeze unfrosted cakes for longer storage.
- Prep Time: 20 minutes
- Cook Time: 20 minutes
- Category: Dessert
- Method: Baking
- Cuisine: American
Keywords: Mini cakes, bundt cake recipe, spring dessert, lemon bundt, Easter treats, festive baking, individual cakes, pastel icing, easy Easter dessert, lemon yogurt cakes
What Are Our Readers Saying?
There are no reviews yet. Be the first one to write one.


